MCP Tools for Automated Blog Writing: Complete Setup Guide
Learn how to set up MCP (Model Context Protocol) tools for automated blog writing with Claude Desktop, Cursor, and ChatGPT. Step-by-step tutorial with code examples and best practices.

Jump to section
The Model Context Protocol (MCP) is revolutionizing how content creators work with AI. Instead of manually copying and pasting between tools, MCP allows your AI assistant to directly access specialized tools for keyword research, content generation, SEO optimization, and publishing—all within a single conversation.
This complete guide will show you how to set up MCP tools for automated blog writing with Claude Desktop, Cursor, or ChatGPT. Whether you’re a solo blogger or managing a content team, you’ll learn to configure professional-grade content automation in under 15 minutes.
What is the Model Context Protocol (MCP)?
The Model Context Protocol is an open standard introduced by Anthropic in November 2024 to standardize how AI assistants connect to external tools and data sources. Think of it as a universal adapter that lets your AI assistant talk to databases, APIs, content management systems, and specialized tools—without custom integrations for each one. For a complete introduction to the protocol, see our guide on what is Model Context Protocol.
How MCP Works: The Technical Architecture
MCP uses a client-server architecture where:
- MCP Client: Your AI assistant (Claude Desktop, Cursor, ChatGPT)
- MCP Server: The tool you’re connecting to (Suparank, Notion, GitHub, etc.)
- Transport: How they communicate (stdio for local, SSE for remote)
┌─────────────────┐ ┌─────────────────┐ ┌─────────────────┐│ Your AI Client │ ◄─────► │ MCP Server │ ◄─────► │ External APIs ││ (Claude/Cursor) │ stdio │ (Suparank) │ HTTPS │ (WordPress/etc) │└─────────────────┘ └─────────────────┘ └─────────────────┘When you ask your AI assistant to “research keywords about coffee brewing,” the AI:
- Identifies it needs the
keyword_researchtool from your MCP server - Calls the tool through MCP protocol
- The MCP server executes the tool (queries APIs, processes data)
- Returns structured results back to the AI
- AI presents results in conversational format
Prerequisites: What You Need Before Starting
Before setting up MCP tools, ensure you have:
1. Supported AI Client
You need one of these AI clients installed:
| AI Client | Platform | MCP Support | Best For |
|---|---|---|---|
| Claude Desktop | macOS, Windows | Native (since Nov 2024) | General content writing, chat-based workflow |
| Cursor | macOS, Windows, Linux | Native (since Dec 2024) | Code-heavy content, technical documentation |
| ChatGPT Desktop | macOS, Windows | Native (since Mar 2025) | OpenAI ecosystem users, cross-platform |
| Cline (VS Code) | All platforms | Via extension | Developers, IDE-integrated workflow |
Download links:
2. Node.js Runtime
MCP servers (especially npm-based ones like Suparank) require Node.js to run.
Check if Node.js is installed:
node --versionnpm --versionIf you see version numbers (e.g., v20.10.0), you’re good to go. If not, download Node.js (LTS version recommended).
3. Text Editor
You’ll need to edit JSON configuration files. Any text editor works:
- macOS: TextEdit, VS Code, Sublime Text
- Windows: Notepad++, VS Code, Notepad
- Linux: nano, vim, VS Code
4. Terminal/Command Line Access
Basic command line knowledge is helpful but not required. We’ll provide exact commands to copy and paste.
Step-by-Step: Setting Up MCP with Claude Desktop
Let’s start with the most popular setup: Claude Desktop with an MCP content writing tool.
Step 1: Install Claude Desktop
If you haven’t already:
- Go to claude.ai/download
- Download for your operating system
- Install and sign in with your Anthropic account
Step 2: Locate Configuration File
Claude Desktop uses a JSON configuration file to register MCP servers. The file location depends on your operating system:
macOS:
~/Library/Application Support/Claude/claude_desktop_config.jsonWindows:
%APPDATA%\Claude\claude_desktop_config.jsonQuick way to open it:
macOS:
open ~/Library/Application\ Support/Claude/claude_desktop_config.jsonWindows (PowerShell):
notepad $env:APPDATA\Claude\claude_desktop_config.jsonIf the file doesn’t exist, create it with empty JSON: {}
Step 3: Add MCP Server Configuration
Now we’ll add an MCP server to the configuration. Let’s use three examples: a simple memory server, the filesystem server, and Suparank for full blog automation.
Example 1: Memory Server (Simple Test)
{ "mcpServers": { "memory": { "command": "npx", "args": ["-y", "@modelcontextprotocol/server-memory"] } }}This adds a simple key-value storage server to test MCP functionality.
Example 2: Filesystem Server (Local File Access)
{ "mcpServers": { "filesystem": { "command": "npx", "args": [ "-y", "@modelcontextprotocol/server-filesystem", "/Users/yourname/Documents/blog-content" ] } }}Replace /Users/yourname/Documents/blog-content with your actual content folder path.
Example 3: Suparank (Full Blog Automation)
{ "mcpServers": { "suparank": { "command": "npx", "args": ["suparank", "your-project-slug", "your-api-key"] } }}Replace your-project-slug and your-api-key with your actual Suparank credentials (get them at app.suparank.io).
Multiple Servers (Recommended Setup):
{ "mcpServers": { "filesystem": { "command": "npx", "args": [ "-y", "@modelcontextprotocol/server-filesystem", "/Users/yourname/Documents/blog-content" ] }, "suparank": { "command": "npx", "args": ["suparank", "my-blog", "sk_live_abcd1234..."] }, "github": { "command": "npx", "args": ["-y", "@modelcontextprotocol/server-github"], "env": { "GITHUB_PERSONAL_ACCESS_TOKEN": "ghp_your_token_here" } } }}Step 4: Restart Claude Desktop
After saving the configuration file:
- Completely quit Claude Desktop (don’t just close the window)
- macOS:
Cmd + Q - Windows: Right-click taskbar icon → Quit
- macOS:
- Relaunch Claude Desktop
Step 5: Verify MCP Connection
Look for the MCP indicator in Claude Desktop:
- Start a new conversation
- Look at the bottom-right of the input box
- You should see a small icon (looks like a puzzle piece or tool icon)
- Click it to see available MCP tools
Test the connection:
Type in Claude:
What MCP tools do I have available?Claude should list your configured servers and their tools.
Test a tool:
Use the memory server to save this: "My blog is about specialty coffee"If you get a confirmation, MCP is working perfectly.
Setting Up MCP with Cursor
Cursor (the AI-powered code editor) has excellent MCP support with both global and project-specific configuration.
Step 1: Install Cursor
Download from cursor.com and install for your operating system.
Step 2: Access MCP Settings
Two ways to open MCP configuration in Cursor:
Method A: Command Palette
- Press
Cmd + Shift + P(macOS) orCtrl + Shift + P(Windows/Linux) - Type “MCP Settings”
- Select “View: Open MCP Settings”
- Click “Tools & Integrations” → “MCP Tools” → “Add Custom MCP”
Method B: Direct File Edit
- Open
~/.cursor/mcp.json(global config) - Or create
.cursor/mcp.jsonin your project root (project-specific)
Step 3: Add MCP Configuration
Cursor’s configuration format is identical to Claude Desktop:
Global Configuration (~/.cursor/mcp.json):
{ "mcpServers": { "suparank": { "command": "npx", "args": ["suparank", "my-blog", "sk_live_..."] }, "filesystem": { "command": "npx", "args": [ "-y", "@modelcontextprotocol/server-filesystem", "/Users/yourname/projects" ] } }}Project-Specific (.cursor/mcp.json in your project):
{ "mcpServers": { "project-docs": { "command": "npx", "args": [ "-y", "@modelcontextprotocol/server-filesystem", "${workspaceFolder}/docs" ] } }}Step 4: Reload Cursor
After saving the configuration:
- Press
Cmd + Shift + P(macOS) orCtrl + Shift + P(Windows) - Type “Reload Window”
- Select “Developer: Reload Window”
Or simply restart Cursor.
Step 5: Test MCP Tools
In Cursor’s AI chat panel:
List available MCP toolsThen test a content writing workflow:
Use Suparank to research keywords for "best espresso machines 2026"Setting Up MCP with ChatGPT Desktop
OpenAI officially adopted MCP in March 2025, making it available in the ChatGPT desktop app. For a detailed comparison of how these platforms differ, see our Claude MCP vs ChatGPT content creation guide.
Step 1: Install ChatGPT Desktop
Download from openai.com/chatgpt/desktop and install.
Step 2: Configure MCP Servers
ChatGPT uses a configuration file similar to Claude Desktop:
macOS:
~/Library/Application Support/ChatGPT/chatgpt_config.jsonWindows:
%APPDATA%\ChatGPT\chatgpt_config.jsonConfiguration format:
{ "mcpServers": { "suparank": { "command": "npx", "args": ["suparank", "project-slug", "api-key"] } }}Step 3: Restart and Verify
Completely quit and restart ChatGPT Desktop. Look for the MCP tools indicator in the chat interface.
Popular MCP Tools for Content Writing
Now that you know how to configure MCP, here are the best content-focused MCP servers to add to your setup:
1. Suparank - Complete SEO Content Automation
What it does: 19 specialized tools for keyword research, content strategy, topical mapping, content generation, optimization, image generation, and direct publishing to WordPress and Ghost.
Installation:
npx suparankConfiguration:
{ "mcpServers": { "suparank": { "command": "npx", "args": ["suparank", "your-project-slug", "sk_live_your_api_key"] } }}Key Tools:
keyword_research- Search volume, difficulty, SERP analysiscontent_write- SEO-optimized blog posts with proper structureseo_strategy- Comprehensive content briefstopical_map- Pillar-cluster content architecturegenerate_image- AI-generated hero imagespublish_wordpress/publish_ghost- Direct publishingquality_check- Pre-publish QA (grammar, SEO, brand consistency)
Use Case: Full blog automation from research to publication. See also our guide on WordPress AI automation for CMS integration details.
Get Started: app.suparank.io
2. Notion MCP - Documentation & Planning
What it does: Create and update Notion pages, manage databases, organize content calendars.
Installation:
{ "mcpServers": { "notion": { "command": "npx", "args": ["-y", "@notionhq/mcp-server-notion"], "env": { "NOTION_API_KEY": "secret_..." } } }}Use Case: Content planning, editorial calendars, team documentation
3. GPT Researcher - Deep Research Agent
What it does: Plans and executes deep research with citations from web and local documents.
Installation:
{ "mcpServers": { "gpt-researcher": { "command": "npx", "args": ["-y", "@gpt-researcher/mcp-server"] } }}Use Case: Research-heavy articles, whitepapers, case studies
4. Markdown Editor MCP - Structured Content
What it does: Semantic editing of Markdown documents with proper formatting.
Installation:
{ "mcpServers": { "markdown": { "command": "npx", "args": ["-y", "@modelcontextprotocol/server-markdown"] } }}Use Case: Technical documentation, README files, structured posts
5. Filesystem MCP - Local File Management
What it does: Read, write, search, and organize files on your local machine.
Installation:
{ "mcpServers": { "filesystem": { "command": "npx", "args": [ "-y", "@modelcontextprotocol/server-filesystem", "/path/to/content" ] } }}Use Case: Managing local blog post drafts, batch file operations
6. GitHub MCP - Version Control for Content
What it does: Create repos, manage branches, commit content, open pull requests.
Installation:
{ "mcpServers": { "github": { "command": "npx", "args": ["-y", "@modelcontextprotocol/server-github"], "env": { "GITHUB_PERSONAL_ACCESS_TOKEN": "ghp_..." } } }}Use Case: Version-controlled content, team collaboration, content review workflows
Advanced Configuration: Production Best Practices
Global vs Local Installation
You have three installation methods for MCP servers:
Method 1: npx (Temporary, Recommended for Testing)
{ "command": "npx", "args": ["-y", "@modelcontextprotocol/server-memory"]}- Pros: No installation required, always latest version
- Cons: Slower startup (downloads each time), requires internet
Method 2: Global Installation (Recommended for Production)
npm install -g @modelcontextprotocol/server-memoryThen configure:
{ "command": "mcp-server-memory"}- Pros: Faster startup, works offline, version control
- Cons: Manual updates required
Method 3: Project-Specific Installation
cd ~/your-projectnpm install @modelcontextprotocol/server-memoryConfigure with full path:
{ "command": "node", "args": ["/Users/yourname/your-project/node_modules/@modelcontextprotocol/server-memory/dist/index.js"]}- Pros: Project isolation, team consistency
- Cons: More complex configuration
Environment Variables & Secrets
Store API keys and credentials in environment variables, not in the config file:
macOS/Linux (~/.zshrc or ~/.bashrc):
export SUPARANK_API_KEY="sk_live_your_key_here"export NOTION_API_KEY="secret_your_notion_key"export GITHUB_TOKEN="ghp_your_github_token"Then reference in config:
{ "mcpServers": { "suparank": { "command": "npx", "args": ["suparank", "project-slug"], "env": { "SUPARANK_API_KEY": "${SUPARANK_API_KEY}" } } }}Windows (Environment Variables):
- Search “Environment Variables” in Start Menu
- Add new user variable:
SUPARANK_API_KEY=sk_live_... - Restart Claude Desktop
Error Handling & Logging
Enable debug logging for troubleshooting:
Claude Desktop Debug Mode:
Add to configuration:
{ "mcpServers": { "suparank": { "command": "npx", "args": ["suparank", "project", "key"], "env": { "DEBUG": "mcp:*" } } }}View logs:
- macOS:
~/Library/Logs/Claude/mcp-server-suparank.log - Windows:
%LOCALAPPDATA%\Claude\logs\
Common Errors & Solutions:
| Error | Cause | Solution |
|---|---|---|
command not found: npx | Node.js not installed | Install Node.js from nodejs.org |
ENOENT: no such file | Invalid file path in config | Use absolute paths, check spelling |
JSON parse error | Invalid JSON syntax | Validate at jsonlint.com |
Connection refused | MCP server crashed | Check logs, restart AI client |
API key invalid | Wrong credentials | Verify in dashboard, regenerate if needed |
Team Collaboration Setup
For teams, create a shared configuration repository:
1. Create team config repository:
mkdir team-mcp-configcd team-mcp-configgit init2. Add shared configuration (team-config.json):
{ "mcpServers": { "suparank": { "command": "npx", "args": ["suparank", "${PROJECT_SLUG}", "${SUPARANK_API_KEY}"] }, "notion": { "command": "npx", "args": ["-y", "@notionhq/mcp-server-notion"], "env": { "NOTION_API_KEY": "${NOTION_API_KEY}" } } }}3. Team members clone and symlink:
git clone https://github.com/your-team/mcp-configln -s ~/mcp-config/team-config.json ~/Library/Application\ Support/Claude/claude_desktop_config.json4. Store credentials in team password manager (1Password, LastPass)
Real-World Workflow: Writing a Blog Post with MCP
Let’s walk through a complete blog post creation workflow using Suparank MCP with Claude Desktop.
Step 1: Keyword Research
Prompt to Claude:
Use Suparank to research keywords for "best pour over coffee makers"What happens behind the scenes:
- Claude calls
keyword_researchtool via MCP - Suparank queries keyword APIs (Ahrefs, Google Keyword Planner)
- Returns structured data: search volume, difficulty, related keywords
- Claude presents results in readable format
Claude’s response:
I found 37 keyword opportunities:
Primary keyword:- "best pour over coffee makers" (8,100/mo, Difficulty: 45)
High-intent variations:- "pour over coffee maker reviews" (2,400/mo, Difficulty: 38)- "best pour over for beginners" (1,300/mo, Difficulty: 29)...
Recommended target: "best pour over coffee makers 2026"
Step 2: Content Strategy
Prompt:
Create a comprehensive content brief for "best pour over coffee makers 2026"Claude uses:
seo_strategytool- Analyzes SERP competitors
- Generates outline with H2/H3 structure
- Recommends word count, internal links, schema
Step 3: Content Generation
Prompt:
Write the full blog post following that briefClaude uses:
content_writetool- Generates 2,000+ word SEO-optimized article
- Includes proper heading structure
- Adds internal linking opportunities
- Optimizes keyword density naturally
Step 4: Image Generation
Prompt:
Create a hero image for this postClaude uses:
generate_imagetool- Creates prompt: “Modern pour over coffee maker on kitchen counter, bright natural lighting, minimalist aesthetic”
- Returns image URL
Step 5: Optimization
Prompt:
Run quality check on this articleClaude uses:
quality_checktool- Checks grammar, readability
- Validates SEO requirements (title length, meta description, keyword usage)
- Verifies brand consistency
Step 6: Publishing
Prompt:
Publish to WordPress as draft with category "Coffee Gear"Claude uses:
publish_wordpresstool- Uploads featured image
- Sets category and tags
- Creates draft post
- Returns WordPress post URL
Total time: 3-5 minutes for complete workflow
Try Suparank MCP for Free
The easiest way to automate blog writing with AI. 19 tools for research, writing, optimization, and publishing—all in one conversation.
Troubleshooting Common Issues
Issue 1: MCP Tools Not Appearing
Symptoms: No MCP indicator in AI client after configuration
Solutions:
-
Verify JSON syntax:
- Copy config to jsonlint.com
- Fix any syntax errors (missing commas, quotes)
-
Check Node.js installation:
Terminal window node --version # Should show v18+ or v20+npx --version # Should show version number -
Verify file location:
- Claude Desktop:
~/Library/Application Support/Claude/claude_desktop_config.json(macOS) - Cursor:
~/.cursor/mcp.json(global) or.cursor/mcp.json(project)
- Claude Desktop:
-
Restart properly:
- Completely quit the application (not just close window)
- On macOS:
Cmd + Q - Relaunch from Applications folder
-
Check logs:
- Claude Desktop: Help → View Logs
- Cursor: View → Output → Select “MCP” from dropdown
Issue 2: “Command not found: npx”
Cause: Node.js not installed or not in system PATH
Solution:
- Install Node.js from nodejs.org (LTS version)
- After installation, restart your terminal
- Verify:
npx --version - If still not working, add to PATH manually:
macOS/Linux:
echo 'export PATH="/usr/local/bin:$PATH"' >> ~/.zshrcsource ~/.zshrcWindows:
Search “Environment Variables” → Edit PATH → Add C:\Program Files\nodejs\
Issue 3: MCP Server Crashes Immediately
Symptoms: Tools appear briefly then disappear, or error in logs
Solutions:
-
Test the server manually:
Terminal window npx suparank your-project your-api-keyCheck for error messages
-
Verify API credentials:
- Check API key is correct (not expired/revoked)
- Verify project slug matches dashboard
-
Check for port conflicts:
- Some MCP servers use specific ports
- Close other development tools temporarily
-
Update to latest version:
Terminal window npm uninstall -g suparanknpm install -g suparank@latest
Issue 4: Slow MCP Tool Responses
Cause: Using npx downloads packages each time
Solution: Switch to global installation
# Install globallynpm install -g suparank
# Update config to use installed version{  "command": "suparank",  "args": ["project-slug", "api-key"]}
Issue 5: Authentication Errors
Symptoms: “Invalid API key” or “Unauthorized” errors
Solutions:
-
Regenerate API key:
- Go to your dashboard (app.suparank.io)
- Settings → API Keys → Regenerate
-
Check environment variables:
Terminal window echo $SUPARANK_API_KEY # Should print your key -
Verify key format:
- Production:
sk_live_+ 64 characters - Test:
sk_test_+ 64 characters
- Production:
-
Update config with new key: Edit config file and restart AI client
MCP vs Traditional Content Workflows
Let’s compare the old way of creating content vs the MCP-powered workflow:
| Task | Traditional Workflow | MCP-Powered Workflow |
|---|---|---|
| Keyword Research | Log into Ahrefs/SEMrush, export CSV, analyze manually (15-20 min) | Ask AI “research keywords for X” (30 sec) |
| Content Brief | Open Google Docs, research competitors, outline manually (30-45 min) | “Create content brief for [keyword]” (1 min) |
| Writing | Write in Google Docs, manual SEO optimization (2-4 hours) | “Write blog post on [topic]” (3-5 min) |
| Image Creation | Search stock photos or design in Canva (10-20 min) | “Generate hero image” (30 sec) |
| SEO Check | Run through Yoast/Surfer SEO, manually fix issues (15-30 min) | “Run quality check” (1 min) |
| Publishing | Copy to WordPress, format, add images, set SEO fields (10-15 min) | “Publish to WordPress” (30 sec) |
| Total Time | 3-5 hours per article | 5-10 minutes per article |
Real-world example from a Suparank user:
“Before MCP, our team published 2-3 blog posts per week with 3 writers. After setting up Suparank MCP, we now publish 8-12 posts per week with the same team. The AI handles research and first drafts; our writers focus on brand voice and expertise. We cut production time by 70% while increasing output by 300%.” — Marketing Director, SaaS company
Best Practices for MCP Content Automation
1. Layer AI + Human Expertise
Don’t: Publish AI-generated content without review
Do: Use MCP to handle research and structure, then add:
- First-hand experience and examples
- Your unique perspective and insights
- Brand voice refinement
- Fact-checking and accuracy verification
2. Configure Project-Specific Settings
For Suparank, set up your project config in the dashboard:
- Brand Voice: Professional, conversational, technical, etc.
- Target Audience: Who you’re writing for
- Primary Keywords: Your core topics
- Style Guide: Specific terminology, formatting preferences
This ensures all MCP-generated content matches your brand.
3. Use Workflow Chaining
Combine multiple MCP tools in a single conversation:
1. Research keywords for "email marketing automation"2. Create content brief for top keyword3. Write full blog post following that brief4. Generate hero image5. Run quality check6. Publish to WordPress as draftThe AI executes all steps sequentially, maintaining context throughout.
4. Version Control for Content
If using GitHub MCP alongside content tools:
1. Write blog post about [topic]2. Save to filesystem in /blog-drafts3. Commit to GitHub with message "Draft: [title]"4. After I review, publish to WordPressThis creates an audit trail and enables team collaboration.
5. Batch Operations
Use MCP for batch content creation:
Create 5 blog post outlines about:1. Coffee brewing methods2. Best espresso machines3. Coffee bean storage4. Latte art tutorials5. Coffee grinder buying guide
For each outline, generate:- Keyword research- Content brief- Suggested internal links
Process multiple pieces simultaneously.
6. Quality Gates
Always run quality checks before publishing:
- Grammar and spelling
- Readability score (aim for grade 8-10)
- SEO requirements (meta description, alt text, etc.)
- Brand consistency
- Fact accuracy
The Future of MCP and Content Creation
The Model Context Protocol ecosystem is evolving rapidly. Here’s what’s coming in 2026 and beyond:
Predicted Developments
Q1-Q2 2026:
- More AI Clients: Expect VS Code native support, Obsidian MCP, Notion AI integration
- Remote MCP Servers: Hosted MCP servers (no local installation required)
- Marketplace Growth: MCP app stores with one-click installations
- Visual Builders: No-code MCP configuration tools
Q3-Q4 2026:
- Multi-Agent Workflows: Multiple MCP servers collaborating on complex tasks
- Voice Integration: Voice-controlled content creation via MCP
- Industry-Specific Tools: Vertical MCP tools (legal writing, medical content, etc.)
Key Trends
- Standardization: More platforms adopting MCP as the universal AI integration standard
- Security: Enhanced authentication, encrypted connections, granular permissions
- Performance: Faster servers, better caching, optimized protocols
- Composability: Chaining MCP servers together for complex workflows
What This Means for Content Teams
- Lower Technical Barriers: Content teams won’t need developers to set up automations
- Better Tool Integration: Your entire content stack (CMS, analytics, SEO tools) will work together seamlessly
- Faster Innovation: New content tools will launch as MCP servers, instantly compatible with your AI assistant
- Platform Independence: Switch between AI assistants without reconfiguring tools
The content creation landscape is shifting from “AI writes content” to “AI orchestrates your entire content workflow through specialized tools.”
Resources & Next Steps
Official Documentation
- Model Context Protocol Specification
- Claude Desktop MCP Setup Guide
- Cursor MCP Documentation
- OpenAI MCP Implementation
MCP Server Repositories
- Awesome MCP Servers - Curated list of 100+ MCP servers
- Official MCP GitHub - Protocol specification and examples
- Suparank GitHub - Open-source SEO content MCP
Learning Resources
- Model Context Protocol Tutorial (6 Steps) - Build your own MCP server
- All About AI: MCP Setup Video - 14-minute video tutorial
- Building MCP Servers (Beginner Guide) - DEV Community tutorial
Community & Support
- MCP Discord Community - Get help, share servers
- Builder.io Blog: Best MCP Servers 2026 - Curated recommendations
- DataCamp: Top 10 MCP Servers - Detailed reviews
Content-Specific Tools
- Suparank - 19 SEO tools for automated blog writing
- GPT Researcher MCP - Deep research agent
- Notion MCP - Notion integration
- SEO MCP Servers Guide - SEO-focused MCP tools
Getting Started Checklist
Ready to start automating your blog writing with MCP? Follow this checklist:
- Install Node.js (verify with
node --version) - Install AI client (Claude Desktop, Cursor, or ChatGPT Desktop)
- Create or locate config file (
claude_desktop_config.jsonormcp.json) - Add your first MCP server (start with memory server for testing)
- Restart AI client completely
- Verify MCP indicator appears in UI
- Test with simple command: “What MCP tools do I have?”
- Add Suparank MCP for content automation (get API key at app.suparank.io)
- Configure project settings (brand voice, keywords, audience)
- Run first workflow: keyword research → write → optimize → publish
- Add more MCP servers (filesystem, GitHub, Notion) as needed
- Set up team configuration repository (for teams)
Conclusion: The MCP Content Revolution
The Model Context Protocol represents a fundamental shift in how we create content. Instead of juggling multiple tools and manually transferring information between systems, MCP enables a unified workflow where your AI assistant orchestrates everything.
Key takeaways:
-
MCP is a standard, not a product - It’s an open protocol supported by major AI companies (Anthropic, OpenAI, and more under the Linux Foundation)
-
Setup is simple - 5-15 minutes to configure, works with Claude Desktop, Cursor, and ChatGPT
-
Content automation is real - From keyword research to published article in under 10 minutes
-
Tools are multiplying - 100+ MCP servers available, with specialized content tools like Suparank leading the way
-
The ecosystem is early - We’re in the “iPhone App Store 2008” phase of MCP. Early adopters gain significant competitive advantage
For content teams, MCP solves the efficiency problem: how to produce more high-quality content without proportionally increasing team size or budget. By automating research, drafting, optimization, and publishing, teams can focus on what humans do best—adding expertise, experience, and brand voice.
Start with one MCP server (we recommend Suparank for content teams), master the workflow, then expand your toolkit as you discover bottlenecks. Within a month, you’ll wonder how you ever created content without it.
Ready to automate your blog writing? Install Suparank MCP and publish your first AI-powered article today.
Frequently Asked Questions
What MCP tools exist for content writing?
How do I install an MCP server?
Does MCP work with ChatGPT?
What is Suparank MCP?
Tags
More articles
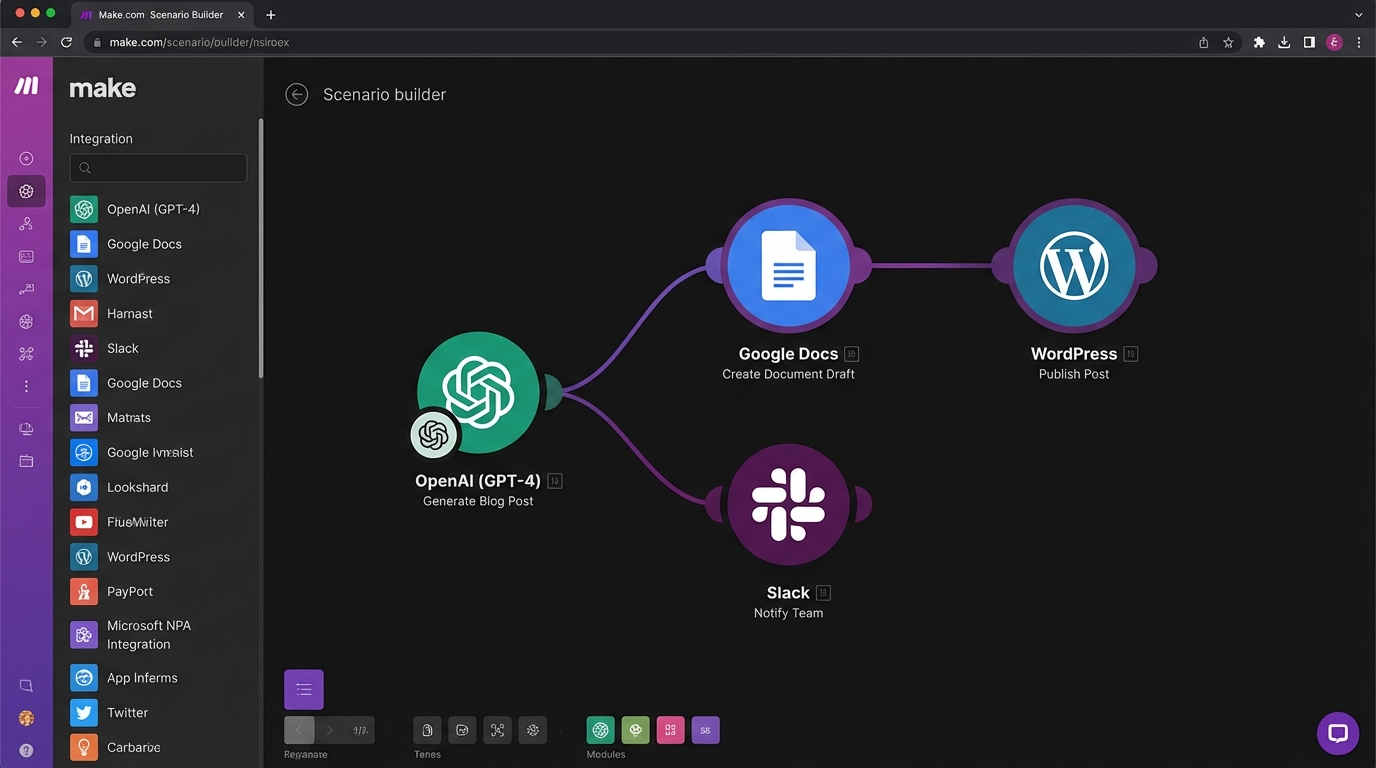
Building AI Content Workflows with Make.com: Complete Guide
Learn how to build automated AI content workflows using Make.com. Step-by-step guide to integrating OpenAI, Claude, WordPress, and Ghost for automated content creation.

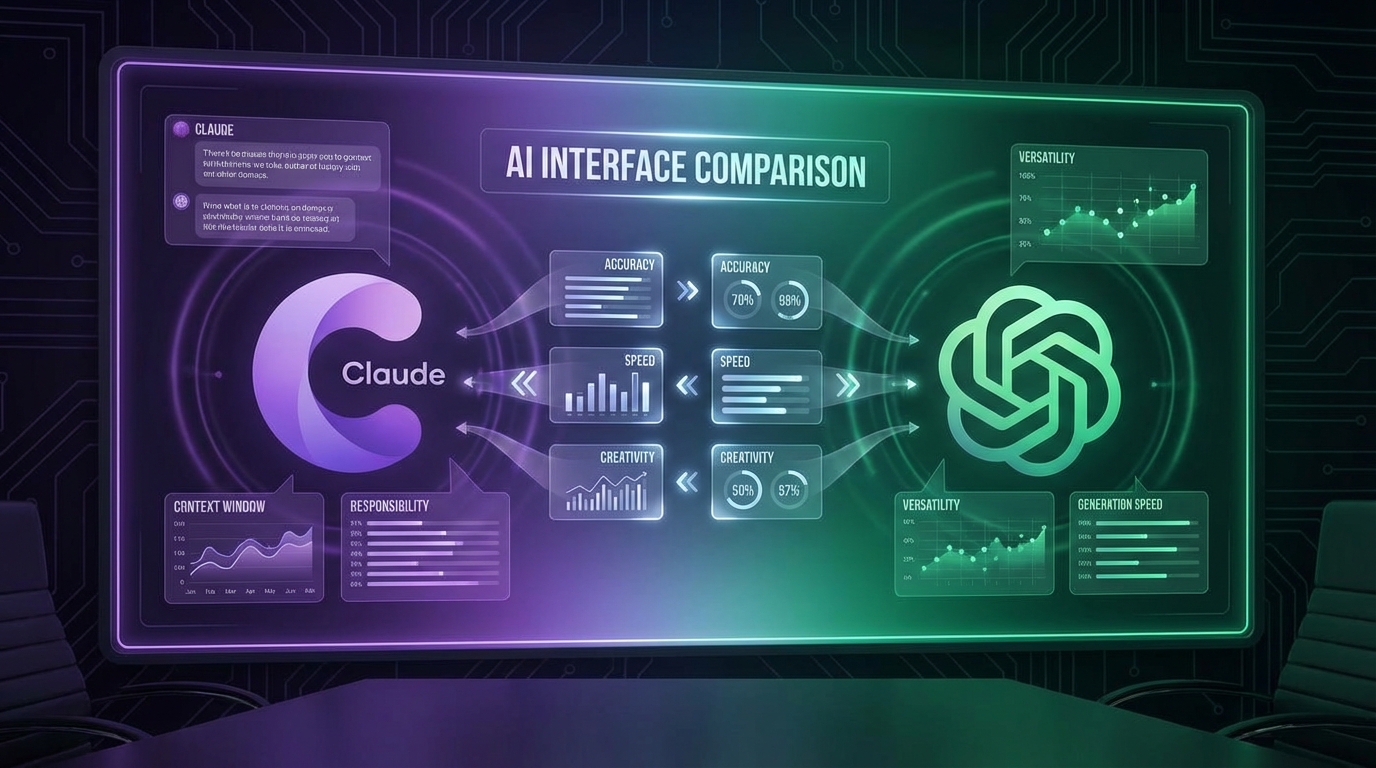
Claude MCP vs ChatGPT for Content Creation: Which is Better in 2026?
Compare Claude's Model Context Protocol with ChatGPT's GPTs for content creation. Feature-by-feature analysis, pricing breakdown, and use case recommendations.
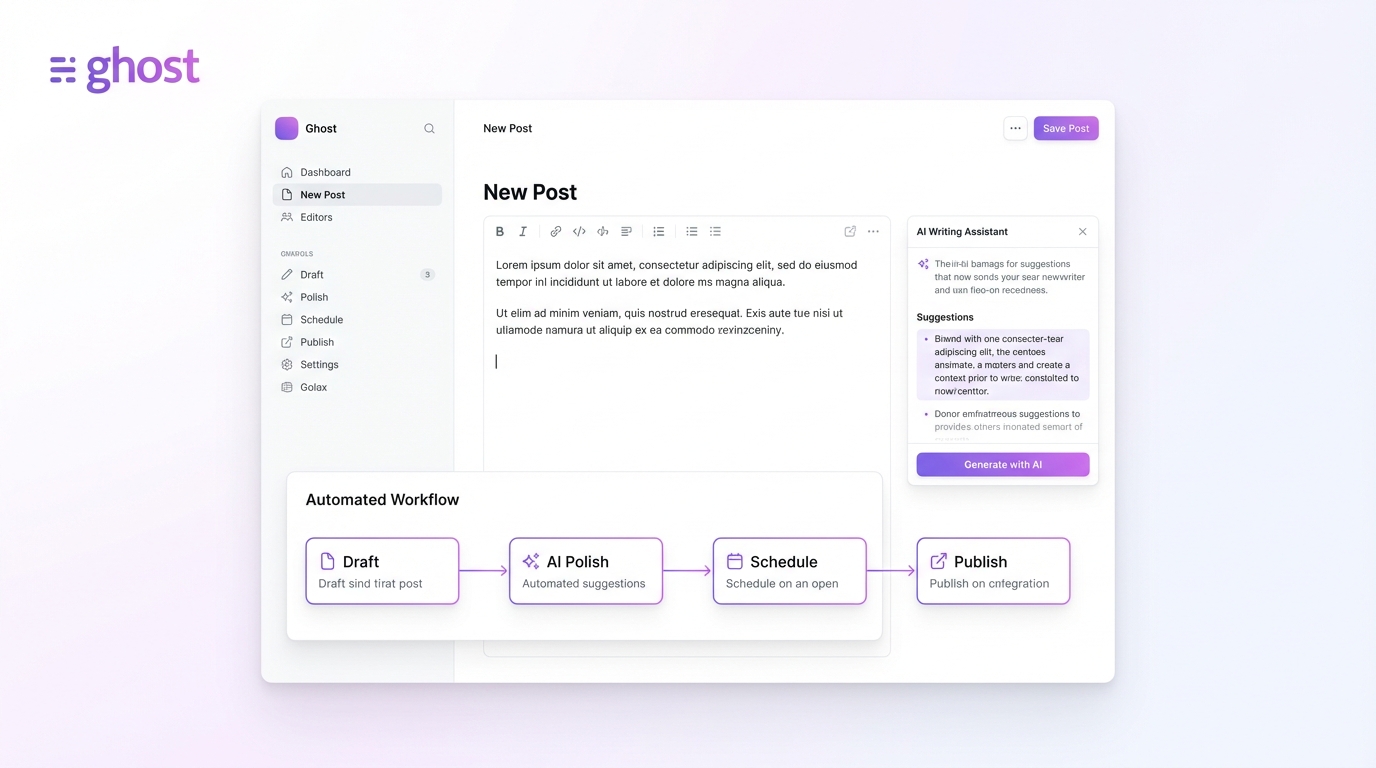
Ghost CMS + AI: Building an Automated Content Workflow
Learn how to automate your Ghost CMS content creation with AI. Complete guide to integrating AI tools, APIs, and automation platforms for streamlined publishing.